You step into the shower expecting hot water and get hit with an ice-cold surprise. Or maybe the tap runs lukewarm no matter how long you wait. A water heater not working is one of those problems that disrupts everything, dishes pile up, showers become a dreaded chore, and your daily routine grinds to a halt. The good news? Not every water heater issue requires a service call.
Some of the most common causes, a tripped breaker, a pilot light that’s gone out, a thermostat set too low, are things you can check and fix yourself in minutes. Others point to deeper problems like sediment buildup, a failing heating element, or a corroded anode rod that need professional attention. Knowing the difference saves you both time and money, and it keeps a small issue from turning into a full replacement.
This guide walks you through the most likely reasons your water heater stopped doing its job and what to do about each one. We’ll cover both gas and electric units, step by step. And if you reach a point where the fix is beyond DIY territory, Bizzy B Plumbing offers same-day service across Knoxville, Maryville, Alcoa, and surrounding East Tennessee communities, with honest pricing and zero guesswork.
Before you start, rule out hazards and shutoffs
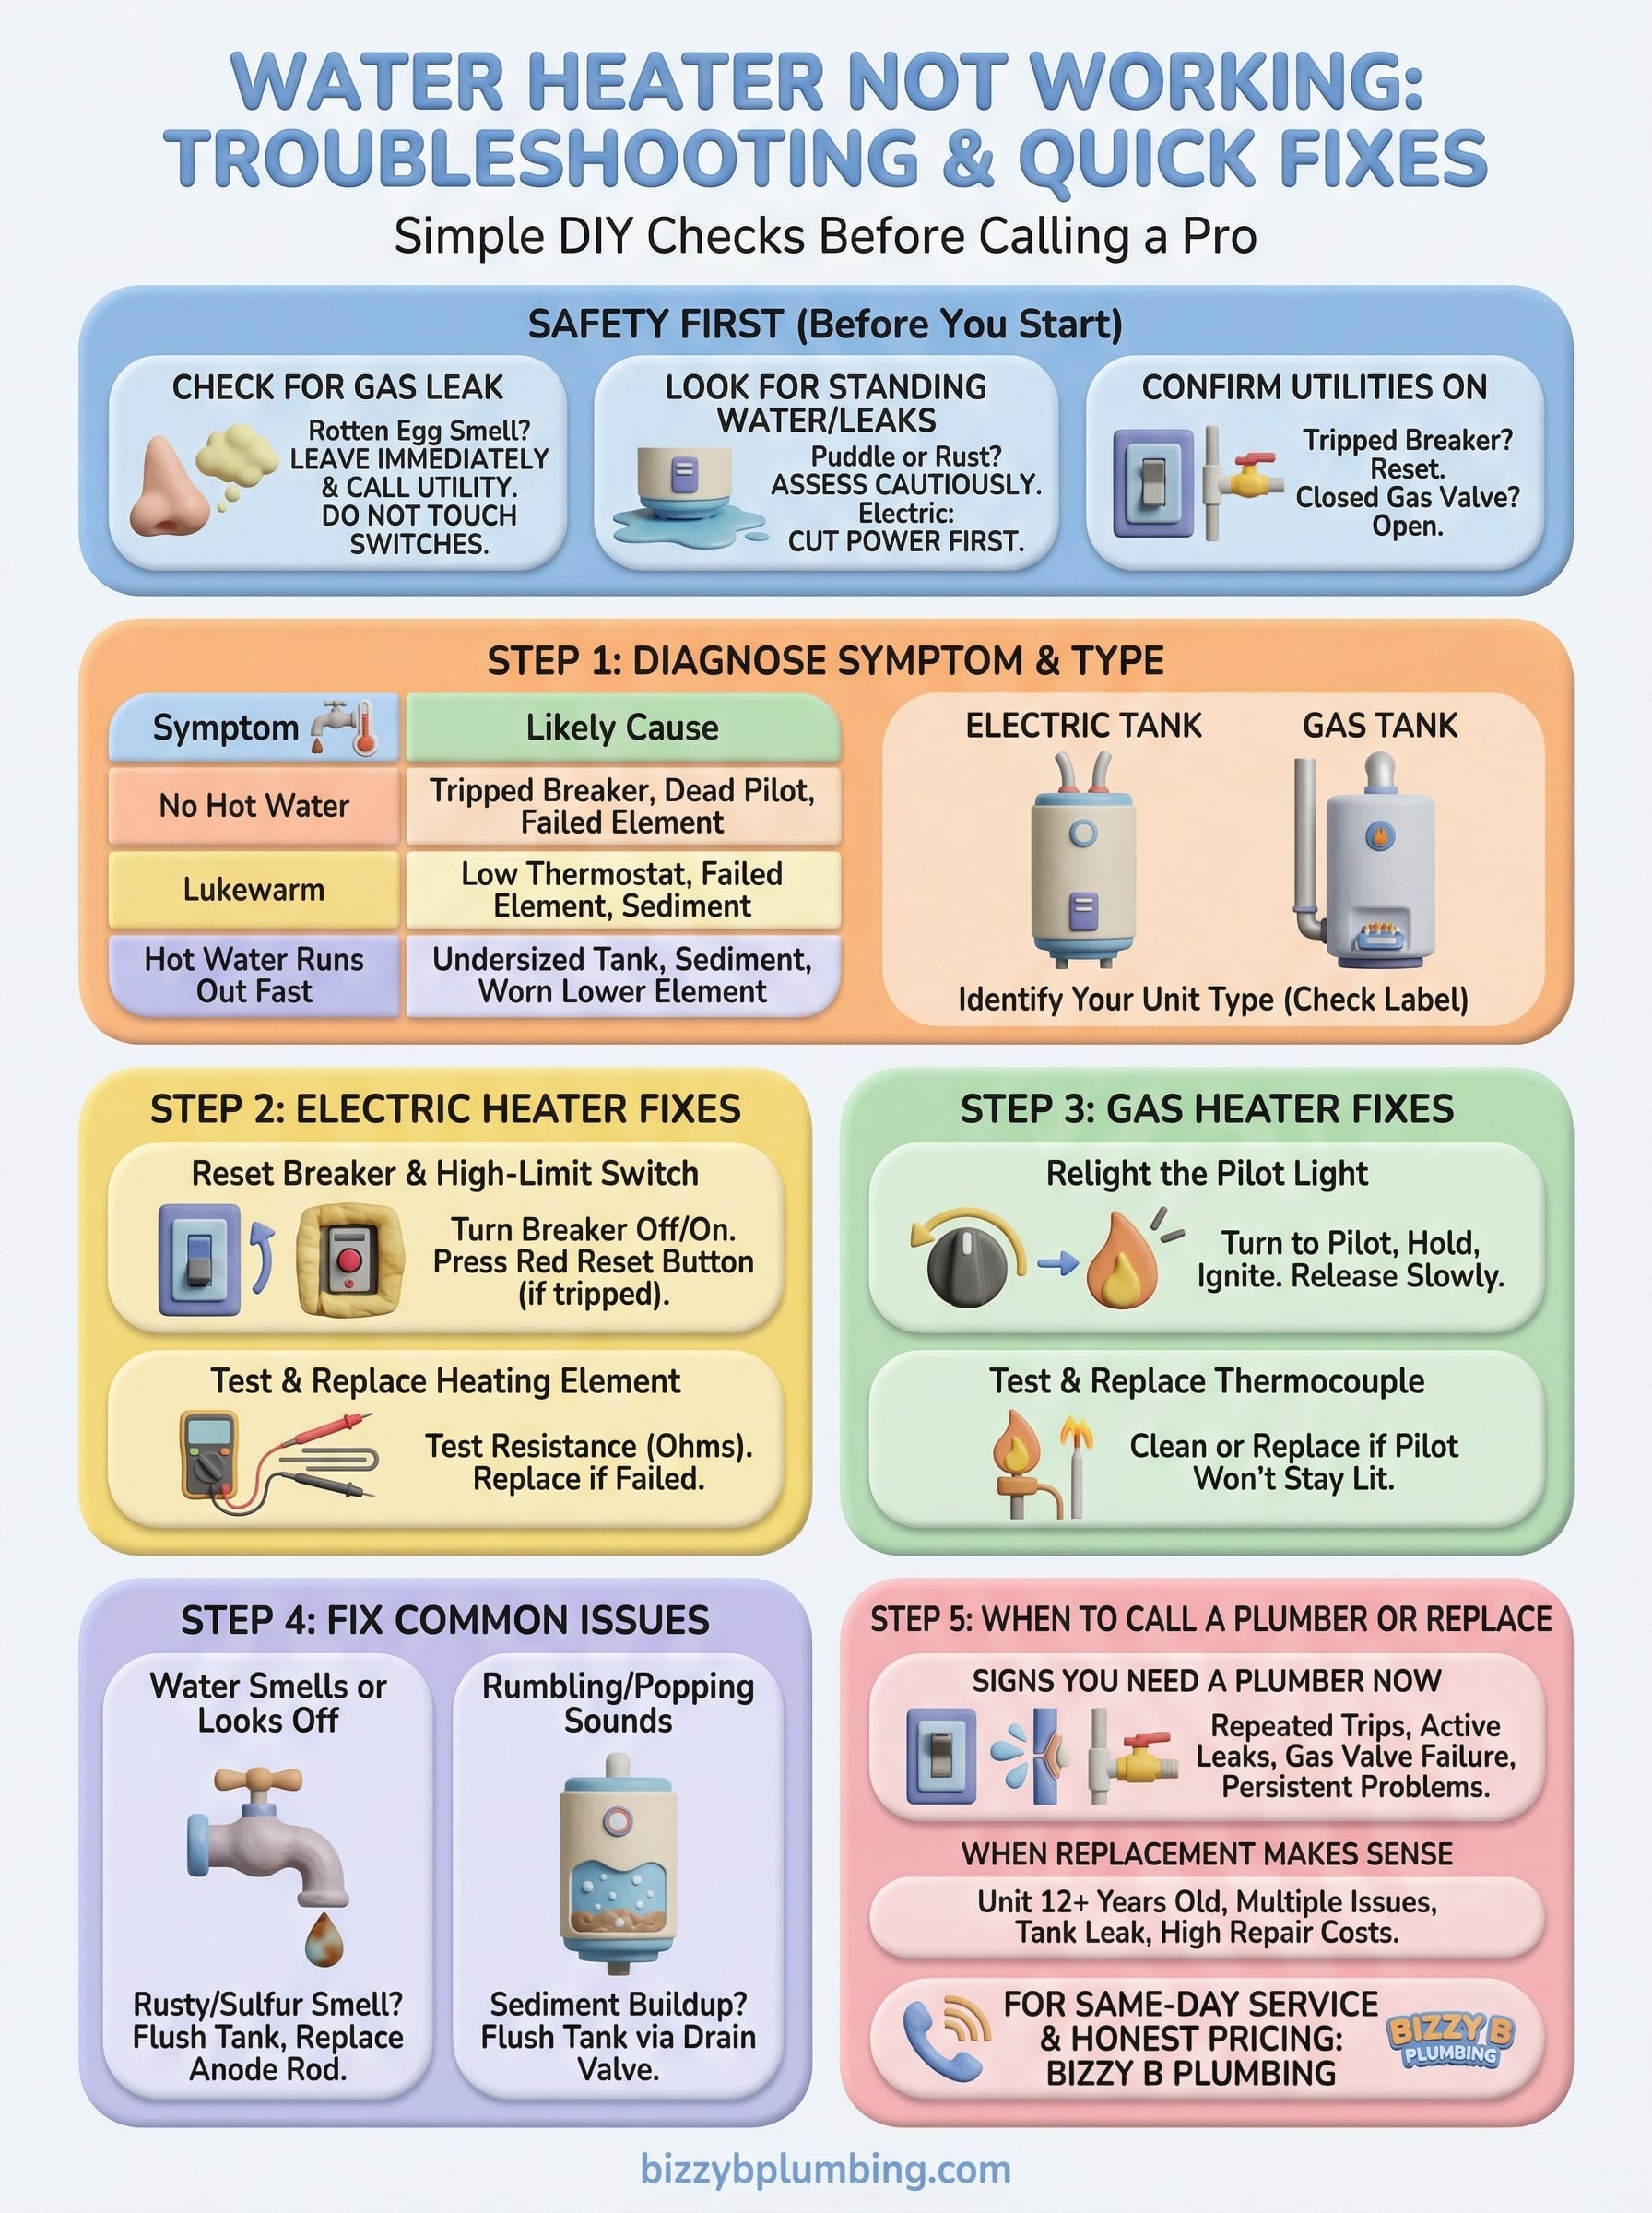
Before you do anything to diagnose a water heater not working, take a few minutes to check for hazards. Rushing past these steps can turn a simple fix into a dangerous situation. Both gas and electric water heaters carry real risks, and knowing what to look and smell for before you touch anything protects you and your household.
Check for a gas leak
If you have a gas water heater, your first job is to rule out a gas leak before you open any panels, relight any pilots, or flip any switches. Natural gas has a sulfur or rotten-egg odor added to it precisely so you can detect it. If you smell that odor near your water heater, do not touch any switches, lights, or appliances. Leave the house immediately, leave the door open behind you, and call your gas utility company from outside or from a neighbor’s phone.
If you smell gas near the water heater, treat it as an emergency every time, even if the odor seems faint.
Once outside, do not re-enter the home until the gas company has inspected and cleared it. A small leak near an ignition source can escalate fast. Only after you’ve confirmed there is no gas leak should you move on to any troubleshooting steps.
Look for standing water or active leaks
Standing water around the base of the unit is a sign to stop and assess before you start poking around. A small puddle could mean a loose connection, a faulty pressure relief valve, or a tank that’s beginning to fail. If the water heater is surrounded by water and it’s an electric unit, cut the power at the breaker first before you get close. Water and live electrical components are a dangerous combination.
Check the area for rust stains, corrosion on pipes, or water trails running down the side of the tank. These details help you gauge whether you’re dealing with a minor drip or something more serious.
Confirm your utilities are actually on
It sounds obvious, but a tripped breaker or a closed gas valve causes a large share of water heater problems. Before you assume something is broken, verify the basics. For electric heaters, go to your electrical panel and check whether the breaker labeled for the water heater has tripped to the middle position. If it has, switch it fully off and then back on.
For gas heaters, check the gas supply valve on the line running to the unit. It should be parallel to the pipe, meaning it’s open. If it’s perpendicular, it’s closed. Also check whether other gas appliances in the house are working. If your stove and furnace are both out, the issue is likely with the gas supply to your home, not the water heater itself.
Know where your shutoffs are before you start
Before any hands-on troubleshooting, locate the cold water inlet shutoff valve on top of or near the water heater. This valve stops water from flowing into the tank when you need it to. It’s typically a handle or knob on the cold water supply pipe entering the unit.
Also note the location of the main water shutoff for your home, usually near the water meter or where the main supply line enters the house. If a leak worsens while you’re working, you need to shut the water off immediately without searching for the valve under pressure. Knowing both shutoff locations before you start means you stay in control of the situation, not the other way around.
Step 1. Confirm the problem and identify your heater type
Before you start turning knobs or pressing reset buttons, get specific about what your unit is actually doing. A water heater not working can mean a dozen different things, and the fix depends entirely on the symptom you’re dealing with. Rushing to reset a breaker when the real issue is sediment buildup wastes your time and skips over the actual cause.
Identify the exact symptom
Run hot water at the tap closest to your water heater and pay close attention to what comes out. No hot water at all is a different problem from water that heats up slowly, turns lukewarm mid-shower, or smells off when it runs. Each symptom points to a different part of the system.
Use this quick reference to match what you’re seeing to the most likely cause:
| Symptom | Likely Cause |
|---|---|
| No hot water at all | Tripped breaker, dead pilot light, or failed heating element |
| Lukewarm or not hot enough | Low thermostat setting, one failed element, or sediment |
| Hot water runs out fast | Undersized tank, sediment reducing capacity, or worn lower element |
| Discolored or rusty water | Corroded anode rod or rust buildup inside the tank |
| Rumbling or popping sounds | Sediment buildup on the bottom of the tank |
| Water smells like sulfur | Bacterial growth or a failing anode rod |
Matching your symptom to a likely cause before you touch anything focuses your troubleshooting and avoids chasing the wrong problem.
Identify your water heater type
Your repair approach changes completely depending on the type of unit you have. An electric tank heater uses heating elements powered by a dedicated circuit. A gas tank heater uses a burner, a pilot light, and a thermocouple. Tankless heaters, whether gas or electric, operate on different logic entirely and display their own error codes when something goes wrong.
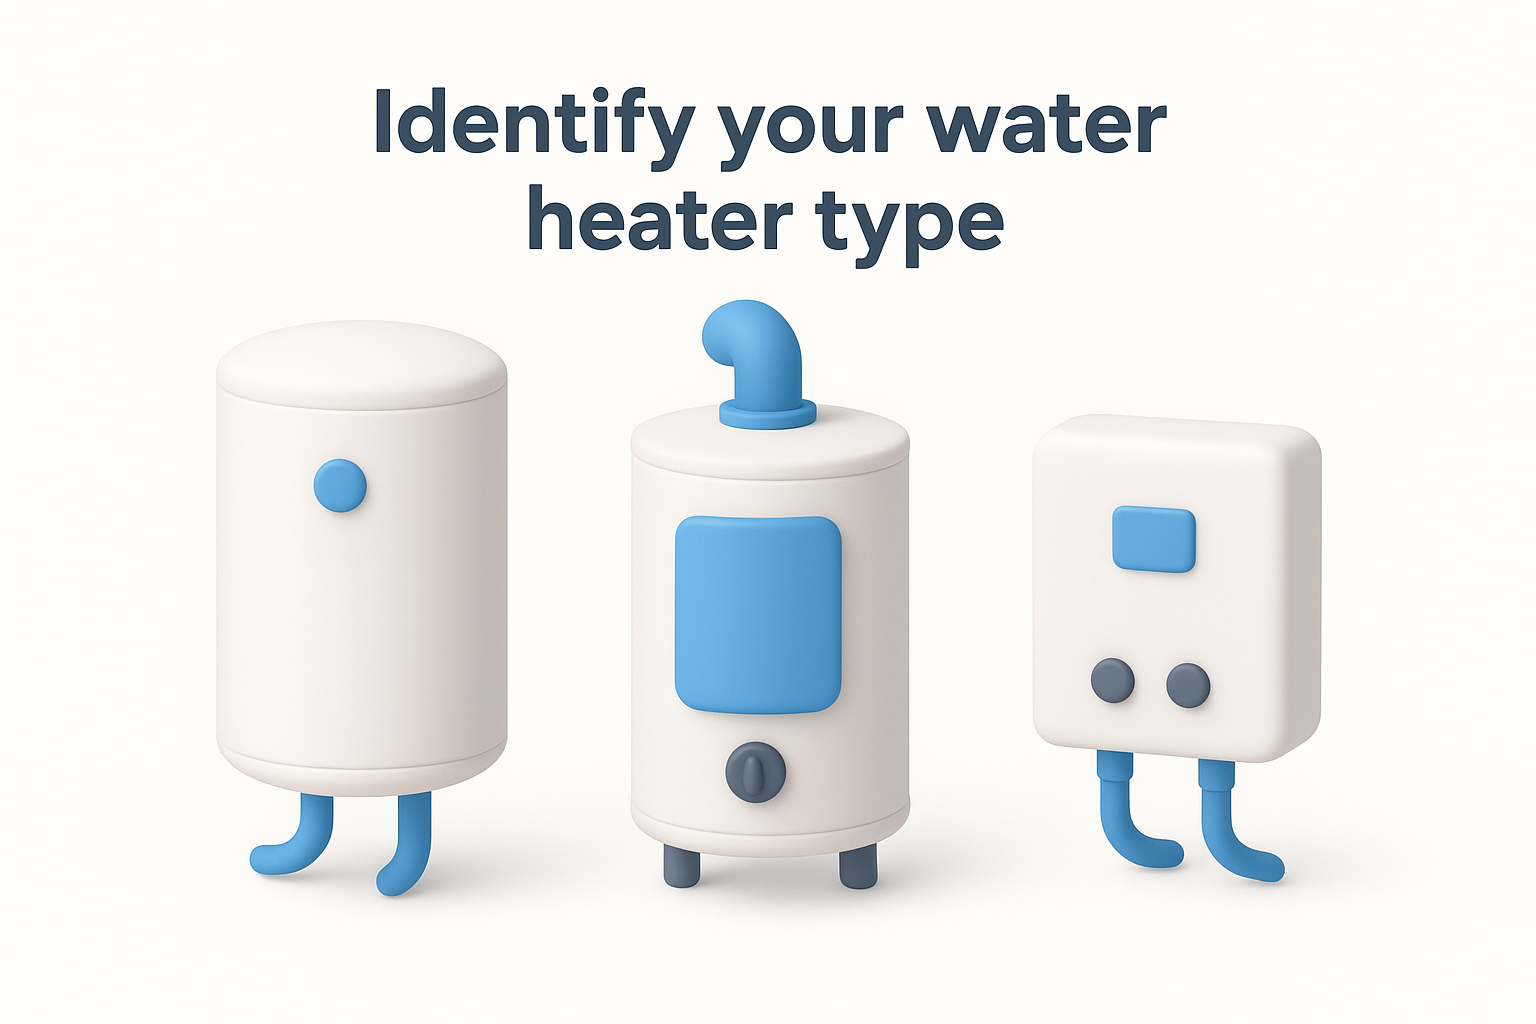
Check the label on the side of the unit. It lists the fuel type, tank capacity in gallons, and the model number. If you see a flue pipe or vent running out of the top or back, you have a gas unit. If you see two electrical conduit connections and no vent pipe, it’s electric. Tankless units are typically wall-mounted and much smaller than a standard tank. Knowing your heater type before you start keeps you from following the wrong steps and helps any plumber you call get to the diagnosis faster.
Step 2. Restore hot water on an electric tank heater
Electric tank heaters rely on two heating elements, one near the top of the tank and one near the bottom, along with a dedicated thermostat for each. When your water heater not working situation involves an electric unit, these components are almost always where the problem starts. The two most common fixes, resetting the circuit breaker and resetting the high-limit switch, take only a few minutes and require no special tools.
Reset the breaker and the high-limit switch
Start at your electrical panel. Find the breaker labeled for the water heater; it’s usually a double-pole breaker in the 30-amp range. If it’s tripped, it will sit in the middle position rather than fully on or fully off. Switch it completely off, wait ten seconds, then switch it back on.

If your breaker trips again shortly after resetting, stop. A repeatedly tripping breaker signals an electrical fault that needs a licensed professional, not another reset.
If the breaker looks fine but you still have no hot water, the high-limit switch may have tripped. This safety cutoff shuts the unit down when water temperature gets dangerously high. To reset it:
- Turn off the breaker to the water heater.
- Remove the upper access panel on the side of the tank (usually held by two screws).
- Pull back the insulation to expose the thermostat.
- Locate the red reset button on the high-limit switch above the thermostat.
- Press the button firmly until you feel or hear it click.
- Replace the insulation and the access panel.
- Turn the breaker back on and wait 30 to 60 minutes before testing the hot water.
Test and replace a heating element
If resetting both the breaker and the high-limit switch doesn’t restore hot water, one of the heating elements has likely failed. A dead lower element causes you to run out of hot water quickly. A dead upper element typically means no hot water at all, since the upper element handles the initial heating load.
Testing an element requires a multimeter set to the resistance (ohms) setting. Shut off the breaker, drain some water from the tank, disconnect the wires from the element terminals, and place the probes on each terminal. A reading near zero ohms or no reading means the element has failed and needs replacement. Replacement elements are available at most hardware stores and typically cost between $15 and $30. If you’re not comfortable working around electrical components inside a water tank, this is the right point to hand the job to a plumber.
Step 3. Restore hot water on a gas tank heater
Gas tank heaters fail for different reasons than electric ones, and the fix starts in a different place. The pilot light, thermocouple, and gas control valve are the three components most responsible when a gas water heater stops producing hot water. Before you touch anything, confirm you already completed the safety checks in the hazard section above, particularly ruling out a gas leak. If your water heater not working situation involves a gas unit, the steps below cover the most common causes in order of likelihood.
Relight the Pilot Light
The pilot light is a small, continuously burning flame that ignites the main burner whenever the thermostat calls for heat. If the pilot goes out, the burner never fires, and you get cold water. Wind drafts, a brief gas supply interruption, or a worn thermocouple can all extinguish it.

To relight the pilot, follow these steps:
- Turn the gas control knob to the “Off” position and wait five minutes to let any residual gas clear.
- Turn the knob to “Pilot.”
- Press and hold the knob down to open the pilot gas supply.
- While holding it down, press the igniter button repeatedly until the pilot flame appears. Some older units require a long lighter instead.
- Continue holding the knob down for 30 to 60 seconds to let the thermocouple heat up and stabilize.
- Release the knob slowly. If the flame stays lit, turn the knob to your desired temperature setting.
- If the pilot goes out again immediately, move to the thermocouple check below.
Test and Replace the Thermocouple
Your thermocouple is a thin metal rod that sits directly in the pilot flame and sends a small electrical signal to the gas valve, confirming the pilot is lit and making it safe to release gas to the burner. When this component wears out or gets coated with residue, the gas valve closes as a safety response, and the pilot won’t stay lit no matter how many times you relight it.
A thermocouple that fails to hold the pilot flame after 60 seconds of holding the gas knob down is almost certainly worn out and needs replacement.
You can clean a mildly dirty thermocouple by lightly sanding the tip with fine-grit sandpaper and wiping it clean. If cleaning doesn’t resolve it, replacement thermocouples typically cost $15 to $25 at any hardware store. Replacement is straightforward: unscrew the old unit from the gas valve fitting, thread in the new one, and position the tip back in the pilot flame path. If a new thermocouple still won’t keep the pilot lit, the gas control valve itself has failed and requires a licensed plumber to replace it safely.
Step 4. Fix common issues beyond no hot water
A water heater not working doesn’t always mean you’ve lost hot water completely. Some of the most disruptive problems show up as poor water quality, strange noises, or a tank that runs out of hot water too quickly. These issues are often fixable without replacing the unit, but they do require attention before they get worse.
Water that smells or looks off
Rusty or discolored water coming from your hot tap points to corrosion inside the tank. The most common culprit is a worn anode rod, a sacrificial metal rod designed to corrode so your tank doesn’t. When the anode rod is depleted, the tank walls start to corrode instead, releasing rust particles into the water. Replacing the anode rod is a straightforward fix: shut off the water supply, locate the hex head on top of the tank, and use a socket wrench to remove and replace it. Anode rods typically cost $20 to $50 and should be checked every three to five years.
Sulfur or rotten-egg odors in hot water usually mean bacteria have colonized the tank, often encouraged by a depleted anode rod or a thermostat set too low. Flushing the tank with a diluted hydrogen peroxide solution and raising the thermostat to 120°F typically resolves this. If the smell returns within a few weeks, replace the anode rod.
Setting your thermostat below 120°F creates conditions where bacteria can grow inside the tank, so keep it at 120°F as a minimum unless a doctor has advised otherwise for your household.
Rumbling, popping, or banging sounds
Sediment buildup on the bottom of the tank causes the rumbling and popping sounds many homeowners notice while the heater runs. Minerals in hard water settle and collect over time, and the burner or heating element has to work through that layer to heat the water. Flushing the tank once a year removes sediment before it hardens and reduces efficiency or causes premature failure.
To flush the tank, connect a garden hose to the drain valve near the base of the unit, route it to a floor drain, shut off the cold water inlet, and open the drain valve until the water runs clear.
Hot water that runs out too fast
Faster-than-usual depletion often comes down to a failing lower heating element on electric units or heavy sediment reducing the tank’s usable capacity. Check your thermostat settings first; both thermostats on an electric unit should sit at the same temperature, typically 120°F. If the settings look correct and the problem continues, test the lower element with a multimeter as described in Step 2.
Step 5. Decide when to call a plumber or replace it
Some water heater problems respond well to the steps in this guide. Others involve risks or complexity that put them firmly in professional territory. Knowing where that line is keeps you from spending hours on a repair that won’t hold, or creating a safety hazard by working on something outside the range of standard DIY.
Signs you need a plumber now
Several situations call for a plumber without delay. If your breaker trips repeatedly after you reset it, that points to an electrical fault inside the unit or in the wiring feeding it. Resetting it over and over does not fix the underlying problem and increases the risk of a fire. Similarly, if your gas control valve fails to hold the pilot after you’ve installed a new thermocouple, only a licensed professional should handle that replacement since the valve controls the gas supply directly.
Any active leak at the tank seams, the pressure relief valve, or the water connections deserves immediate professional attention before it causes water damage inside your home.
Other situations that warrant a call include water that stays discolored after you’ve replaced the anode rod and flushed the tank, persistent sulfur smells that return within a few days of treatment, and any water heater not working scenario where you’re genuinely uncertain about what you’re seeing inside the unit. Bringing in a plumber at this stage typically costs far less than fixing the secondary damage a neglected problem leaves behind.
When replacement makes more sense than repair
Repair makes sense on a unit under 10 years old with a single, identifiable problem. But age and overall condition should factor heavily into your decision. If your tank is 12 or more years old and you’re dealing with recurring issues, repair costs stack up quickly without changing the fact that the unit is near the end of its expected lifespan.
Use this table to weigh your options:
| Situation | Recommended Action |
|---|---|
| Unit under 10 years, single failed element | Repair |
| Unit under 10 years, failed gas valve | Repair if cost is reasonable |
| Unit 12+ years, multiple issues | Replace |
| Active leak at the tank seam | Replace immediately |
| Repair cost exceeds 50% of a new unit | Replace |
| Repeated repairs within the past two years | Replace |
A standard tank water heater typically lasts 8 to 12 years, while a tankless unit can last 20 or more with proper maintenance. If your current unit is already past its expected lifespan and repairs keep coming, putting money toward a new installation is the smarter financial move.
Make the right next move
A water heater not working disrupts your day fast, but most issues follow a clear path from symptom to fix. You now have the steps to check for hazards, identify your heater type, reset breakers and pilot lights, address water quality and noise problems, and recognize when a repair is beyond DIY. Acting on accurate information early keeps a manageable problem from becoming an expensive one.
When the issue goes beyond what you can safely handle yourself, or your unit is past its useful life, professional service gets your hot water back without the guesswork. Bizzy B Plumbing serves Knoxville, Maryville, Alcoa, and surrounding East Tennessee communities with upfront pricing and same-day availability. Contact Bizzy B Plumbing to schedule a repair or replacement and let a licensed plumber diagnose and fix the problem so you can get back to your normal routine without delay.


