A clogged drain never picks a convenient time. You’re brushing your teeth before work, water starts pooling in the sink, and suddenly you’re wondering how to unclog a drain before the day gets worse. The good news? Most clogs don’t need a professional, at least not right away. A few common household items and the right technique can get water flowing again in minutes.
At Bizzy B Plumbing, we handle drain clogs across Knoxville and East Tennessee every single day. We’re a veteran-owned crew, and we believe in giving people straight answers, even when that answer is “you can probably fix this yourself.” Not every slow drain needs a service call, and we’d rather help you solve a simple problem at home than charge you for something you didn’t need. That said, we’ll also tell you exactly when it’s time to call a plumber so you don’t make things worse.
This guide walks you through the fastest, most reliable DIY methods to clear a clogged sink, shower, or bathtub drain. We’ll cover what works, what doesn’t, and where the line is between a quick fix and a problem that needs professional tools. Whether it’s a hairball in the shower or grease buildup in the kitchen, you’ll have a clear plan of action by the end.
Before you start: safety and what not to do
Before you grab anything from under the sink, take two minutes to think about what you’re dealing with. Most DIY drain fixes are completely safe, but a handful of common mistakes can turn a minor clog into a cracked pipe or a chemical burn on your skin. Knowing what to avoid is just as important as knowing what to use when you’re working through how to unclog a drain at home.
Products that will cause more damage than good
The biggest trap most people fall into is reaching for a bottle of chemical drain cleaner first. Products like Drano and Liquid-Plumr contain lye or sulfuric acid, which generate heat as they react with water. That heat can soften and warp PVC pipes, and repeated use slowly weakens pipe joints over time. Worse, if the product fails to clear the clog, you’re left with a pipe full of caustic liquid that has to be flushed out safely before any plumber can get near it.
Never mix different chemical drain cleaners, even between separate uses days apart. Combining acid-based and base-based products can produce toxic fumes or a sudden violent reaction in the pipe.
There’s also the boiling water mistake worth addressing. Pouring water straight from a kettle at a full, rolling boil into a porcelain sink or toilet bowl can crack the fixture due to the sudden temperature shift. Use hot tap water, or let boiled water sit for two minutes before you pour it. It sounds minor, but a cracked basin is an expensive fix for a problem you didn’t have when you started.
What to have ready before you begin
Getting organized before you start saves you from stopping halfway through with dirty, soapy hands to hunt for supplies. Here’s what to pull out first:
- Rubber gloves: protect your skin from grime, soap scum, and any residual cleaning products sitting in the drain
- Old towels or rags: catch overflow water when you remove a drain cover or disconnect a P-trap
- A small bucket: useful for bailing standing water from a sink basin before you start working
- A flashlight: gives you a clear view into the drain opening so you know what you’re dealing with
- Needle-nose pliers: let you grab debris just below the drain cover without scratching the fixture
You don’t need specialty plumbing tools for most basic clogs. What you do need is a clear workspace and good visibility. If you’re working on a bathroom or kitchen sink, clear out the cabinet underneath as well, because you may need to access the P-trap during the process.
Step 1. Identify the fixture and clog type
Knowing where the clog is and what caused it changes your entire approach before you pick up a single tool. Spend 60 seconds diagnosing the situation first, because the process of how to unclog a drain in a shower packed with hair looks completely different from clearing grease buildup out of a kitchen sink.
Which fixture is draining slowly?
The location of the problem tells you a lot right away. A single slow drain points to a localized blockage right at or just below that fixture. Multiple slow drains backing up at the same time in different rooms signal a deeper problem in the main sewer line, which is beyond what DIY methods can reach and requires professional equipment.
Here’s a quick reference for common fixtures and their most likely causes:
| Fixture | Most Common Clog Cause |
|---|---|
| Bathroom sink | Hair, soap scum, toothpaste buildup |
| Shower or bathtub | Hair and soap buildup |
| Kitchen sink | Grease, food particles |
| Utility or laundry sink | Debris, lint, sediment |
If two or more drains in separate rooms are both draining slowly at the same time, stop all DIY attempts and call a plumber. That pattern points to a sewer line blockage, not a fixture-level clog.
What is the blockage made of?
Your clog material determines which removal method you should try first. Hair and soap form a tangled, slimy mass that responds well to physical removal with a drain hook or zip-it tool. Grease and food debris soften with hot water and dish soap since they’re partially soluble. Mineral buildup from hard water is a separate issue entirely and won’t break down with either of those approaches. Identifying the likely cause now keeps you from wasting time on a method that won’t work for your specific situation.
Step 2. Remove the blockage at the drain opening
Physical removal is almost always the fastest and most effective first step when you’re working out how to unclog a drain. Before you add any water or product, try pulling the blockage out directly. Most bathroom clogs sit within two to four inches of the drain surface, which puts them well within reach without any specialty tools.
Pull the clog out by hand or with a drain tool
Put on your rubber gloves before you touch anything. Unscrew or pop out the drain cover, set it aside, and shine a flashlight straight down into the opening. If you can see a clump of hair or debris, use needle-nose pliers or your fingers to grab and pull it out in one slow, steady motion. Avoid pushing it deeper by yanking too fast.
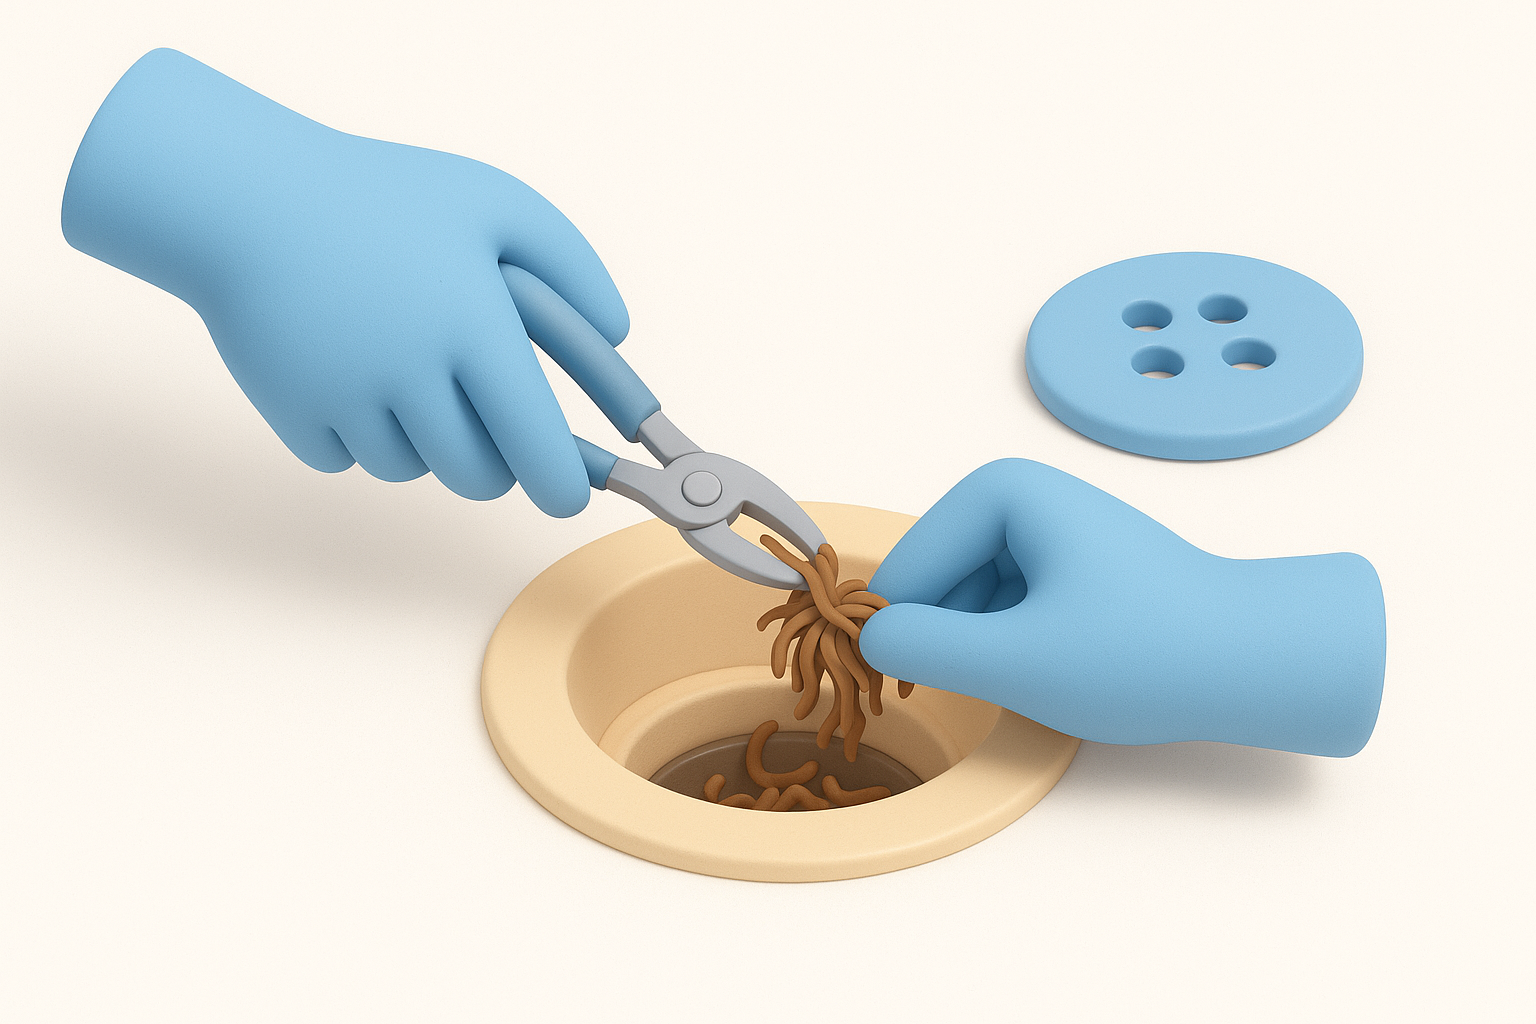
If the clog sits a few inches below the opening, a plastic drain snake or zip-it tool works well. These are inexpensive, disposable tools with small barbs along the sides that grab hair and pull it upward. Insert the tool slowly, rotate it a quarter turn, then pull straight up. Repeat two or three times until nothing more comes out.
Dispose of the removed debris in a trash can, not back down the drain. Flushing it could create a second blockage further down the pipe.
Check the drain stopper on bathroom sinks
Many bathroom sink clogs hide directly on the stopper mechanism rather than in the pipe. The pop-up stopper collects hair and soap scum on its underside over time. Lift or unscrew the stopper, clean it thoroughly with a paper towel, then reinstall it. That single step clears the drain completely in a surprising number of cases without any further work.
Step 3. Use hot water, soap, and a plunger correctly
Once you’ve removed everything you can reach physically, hot water and a plunger are your next move in figuring out how to unclog a drain that’s still not clearing fully. This combination works especially well on grease-based kitchen clogs and partial soap blockages where the debris hasn’t fully hardened.
Start with hot water and dish soap
Squirt a generous amount of liquid dish soap directly into the drain opening, then let it sit for about two minutes. Dish soap is a degreaser, so it coats the inside of the pipe and helps break apart fatty residue. Follow that with the hottest tap water you can run, not boiling water, and let it flow steadily for 30 to 60 seconds. The soap reduces surface tension and helps flush loosened material down the pipe.
Do not pour boiling water directly from a kettle onto porcelain fixtures or PVC pipes. Hot tap water is safe and effective enough for this step.
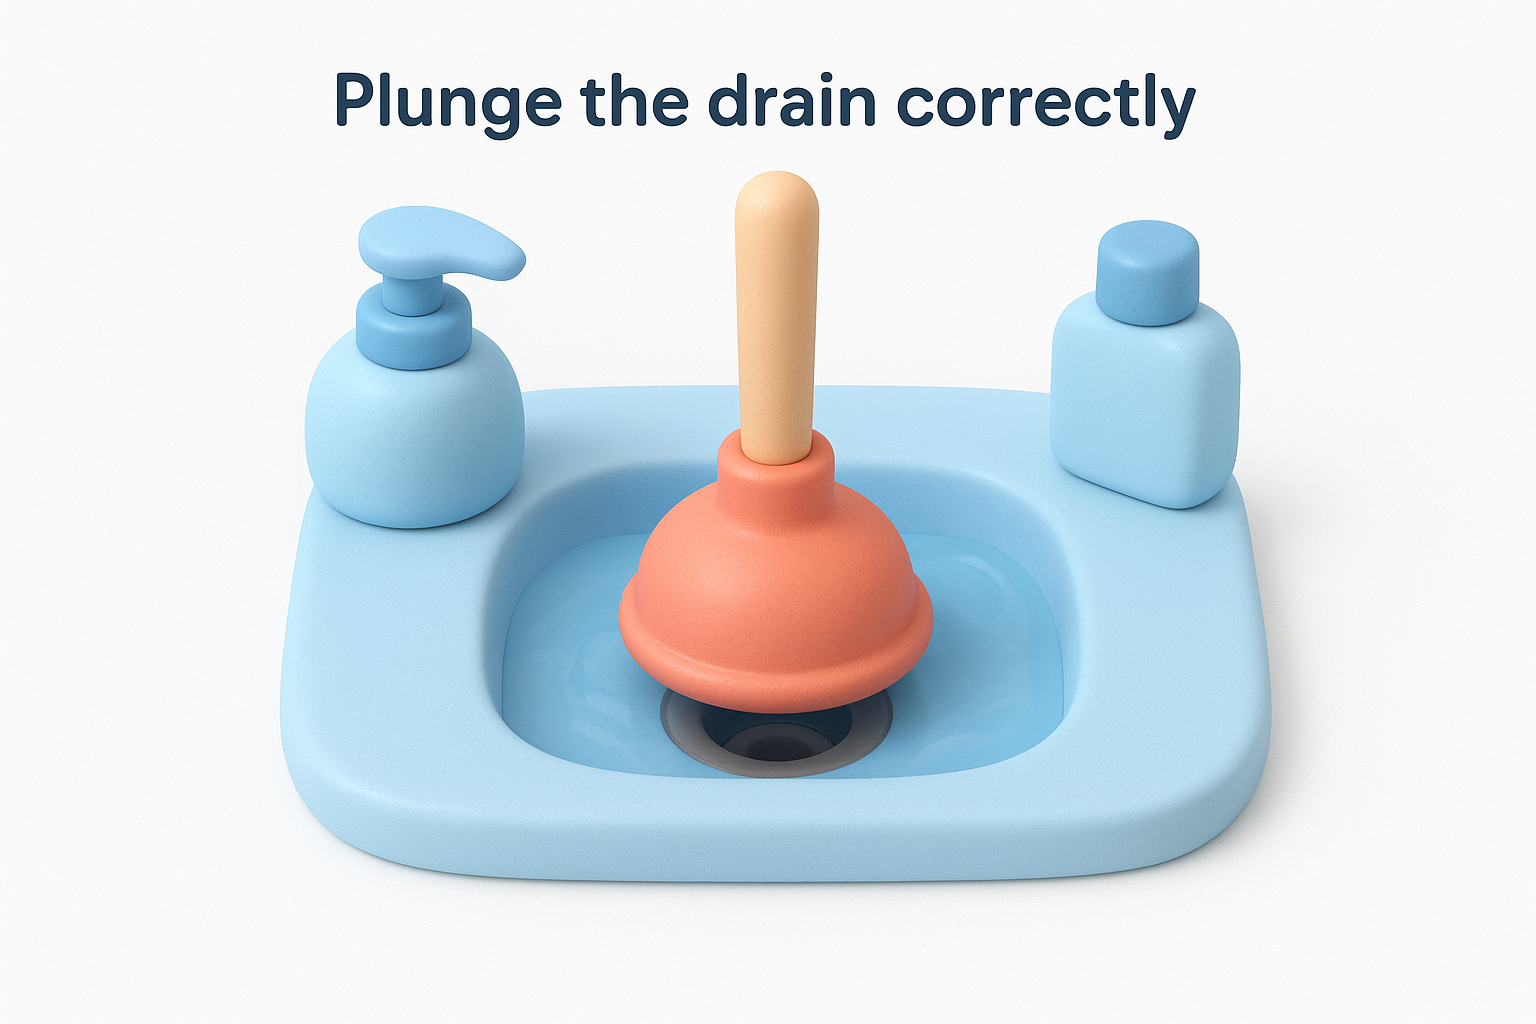
Plunge the drain correctly
Most people use a plunger wrong, which is why it appears to fail. For a sink or tub, you need a cup plunger, not a flange plunger, which is built specifically for toilets. Fill the basin with just enough water to cover the rubber cup, then center the plunger directly over the drain opening. Press down slowly to create a seal, then push and pull with short, firm strokes for 20 to 30 seconds without breaking the seal. Lift sharply at the end to release pressure.
Repeat this process two or three times. Run hot water between attempts to check progress and help flush any debris the plunging has already dislodged.
Step 4. Use baking soda and vinegar the right way
Baking soda and vinegar is one of the most widely recommended home remedies for how to unclog a drain, but most people apply it wrong and wonder why it didn’t work. The combination creates a fizzing reaction that can loosen light soap scum and minor buildup, but timing and order matter more than most guides admit.
How to apply the mixture correctly
Follow these steps in order to force the reaction down into the pipe itself, not just bubble back up into the basin:
- Remove any standing water so the mixture reaches the drain directly.
- Pour one cup of baking soda straight into the drain and let it sit for two full minutes.
- Add one cup of white vinegar immediately after.
- Cover the drain opening with a stopper or damp cloth right away.
- Wait 15 to 20 minutes, then flush with the hottest tap water you can run for 60 seconds.
Covering the drain right after you add the vinegar is the step most people skip. It forces the reaction downward into the pipe rather than wasting all the fizz at the surface.
When this method works and when it doesn’t
Baking soda and vinegar work best on soft, fresh buildup like light soap scum or minor grease film. The fizzing action is more mechanical than chemical, so it won’t dissolve a dense hair clog or break apart compacted debris the way physical removal does.
If your drain is still slow after one full attempt, skip a second round. Repeating without results just wastes time, and you’re better off going back to the plunger or calling a professional who has the equipment to reach a deeper blockage further down the pipe.
Quick recap and next steps
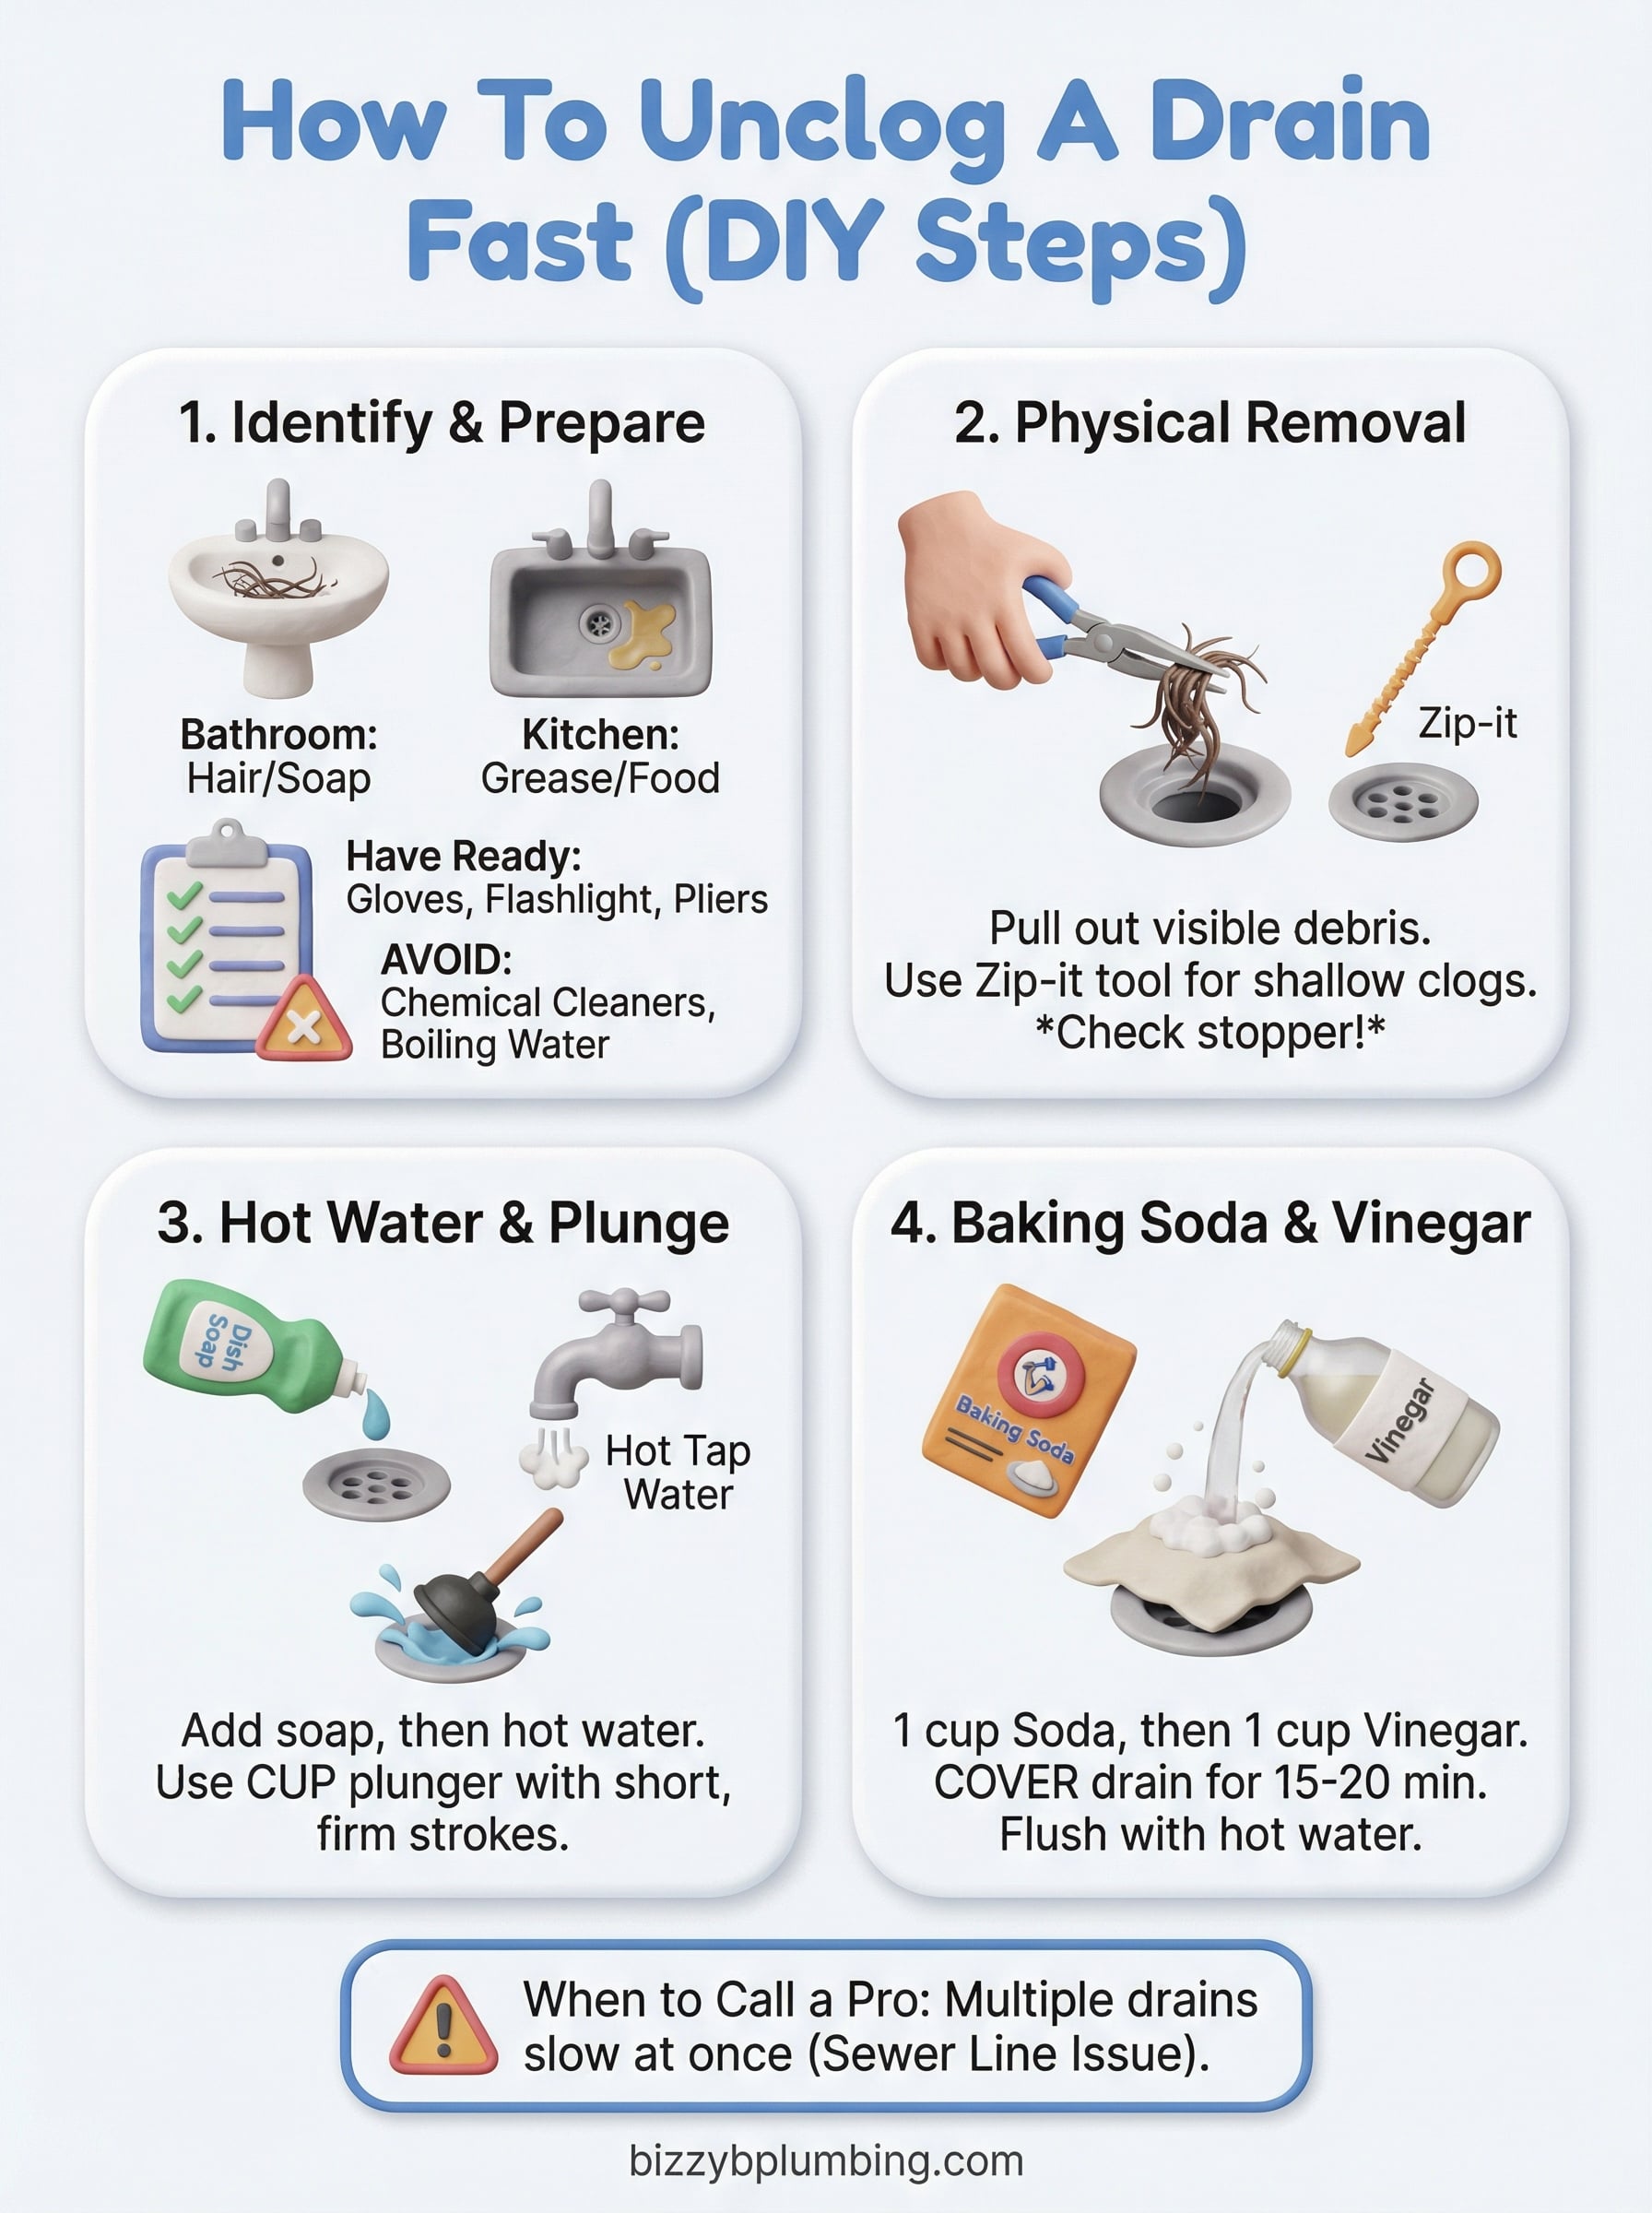
You now have a complete, step-by-step process for how to unclog a drain without calling anyone. Start by identifying the fixture and clog type, then remove the blockage physically before reaching for any product. Follow that with hot water, dish soap, and a plunger, then use the baking soda and vinegar method if you still have a partial blockage. In that order, these steps cover the vast majority of household drain clogs.
Some clogs won’t respond to any of these methods, and pushing further can cause real damage to your pipes. If you’ve worked through every step and the drain is still slow, or if multiple drains are backing up at once, that’s the signal to stop and bring in a professional with the right equipment. The team at Bizzy B Plumbing offers same-day service across Knoxville and East Tennessee with upfront, honest pricing and no pressure.